|
| |
| Tips/Advice |
|
Lab Notes
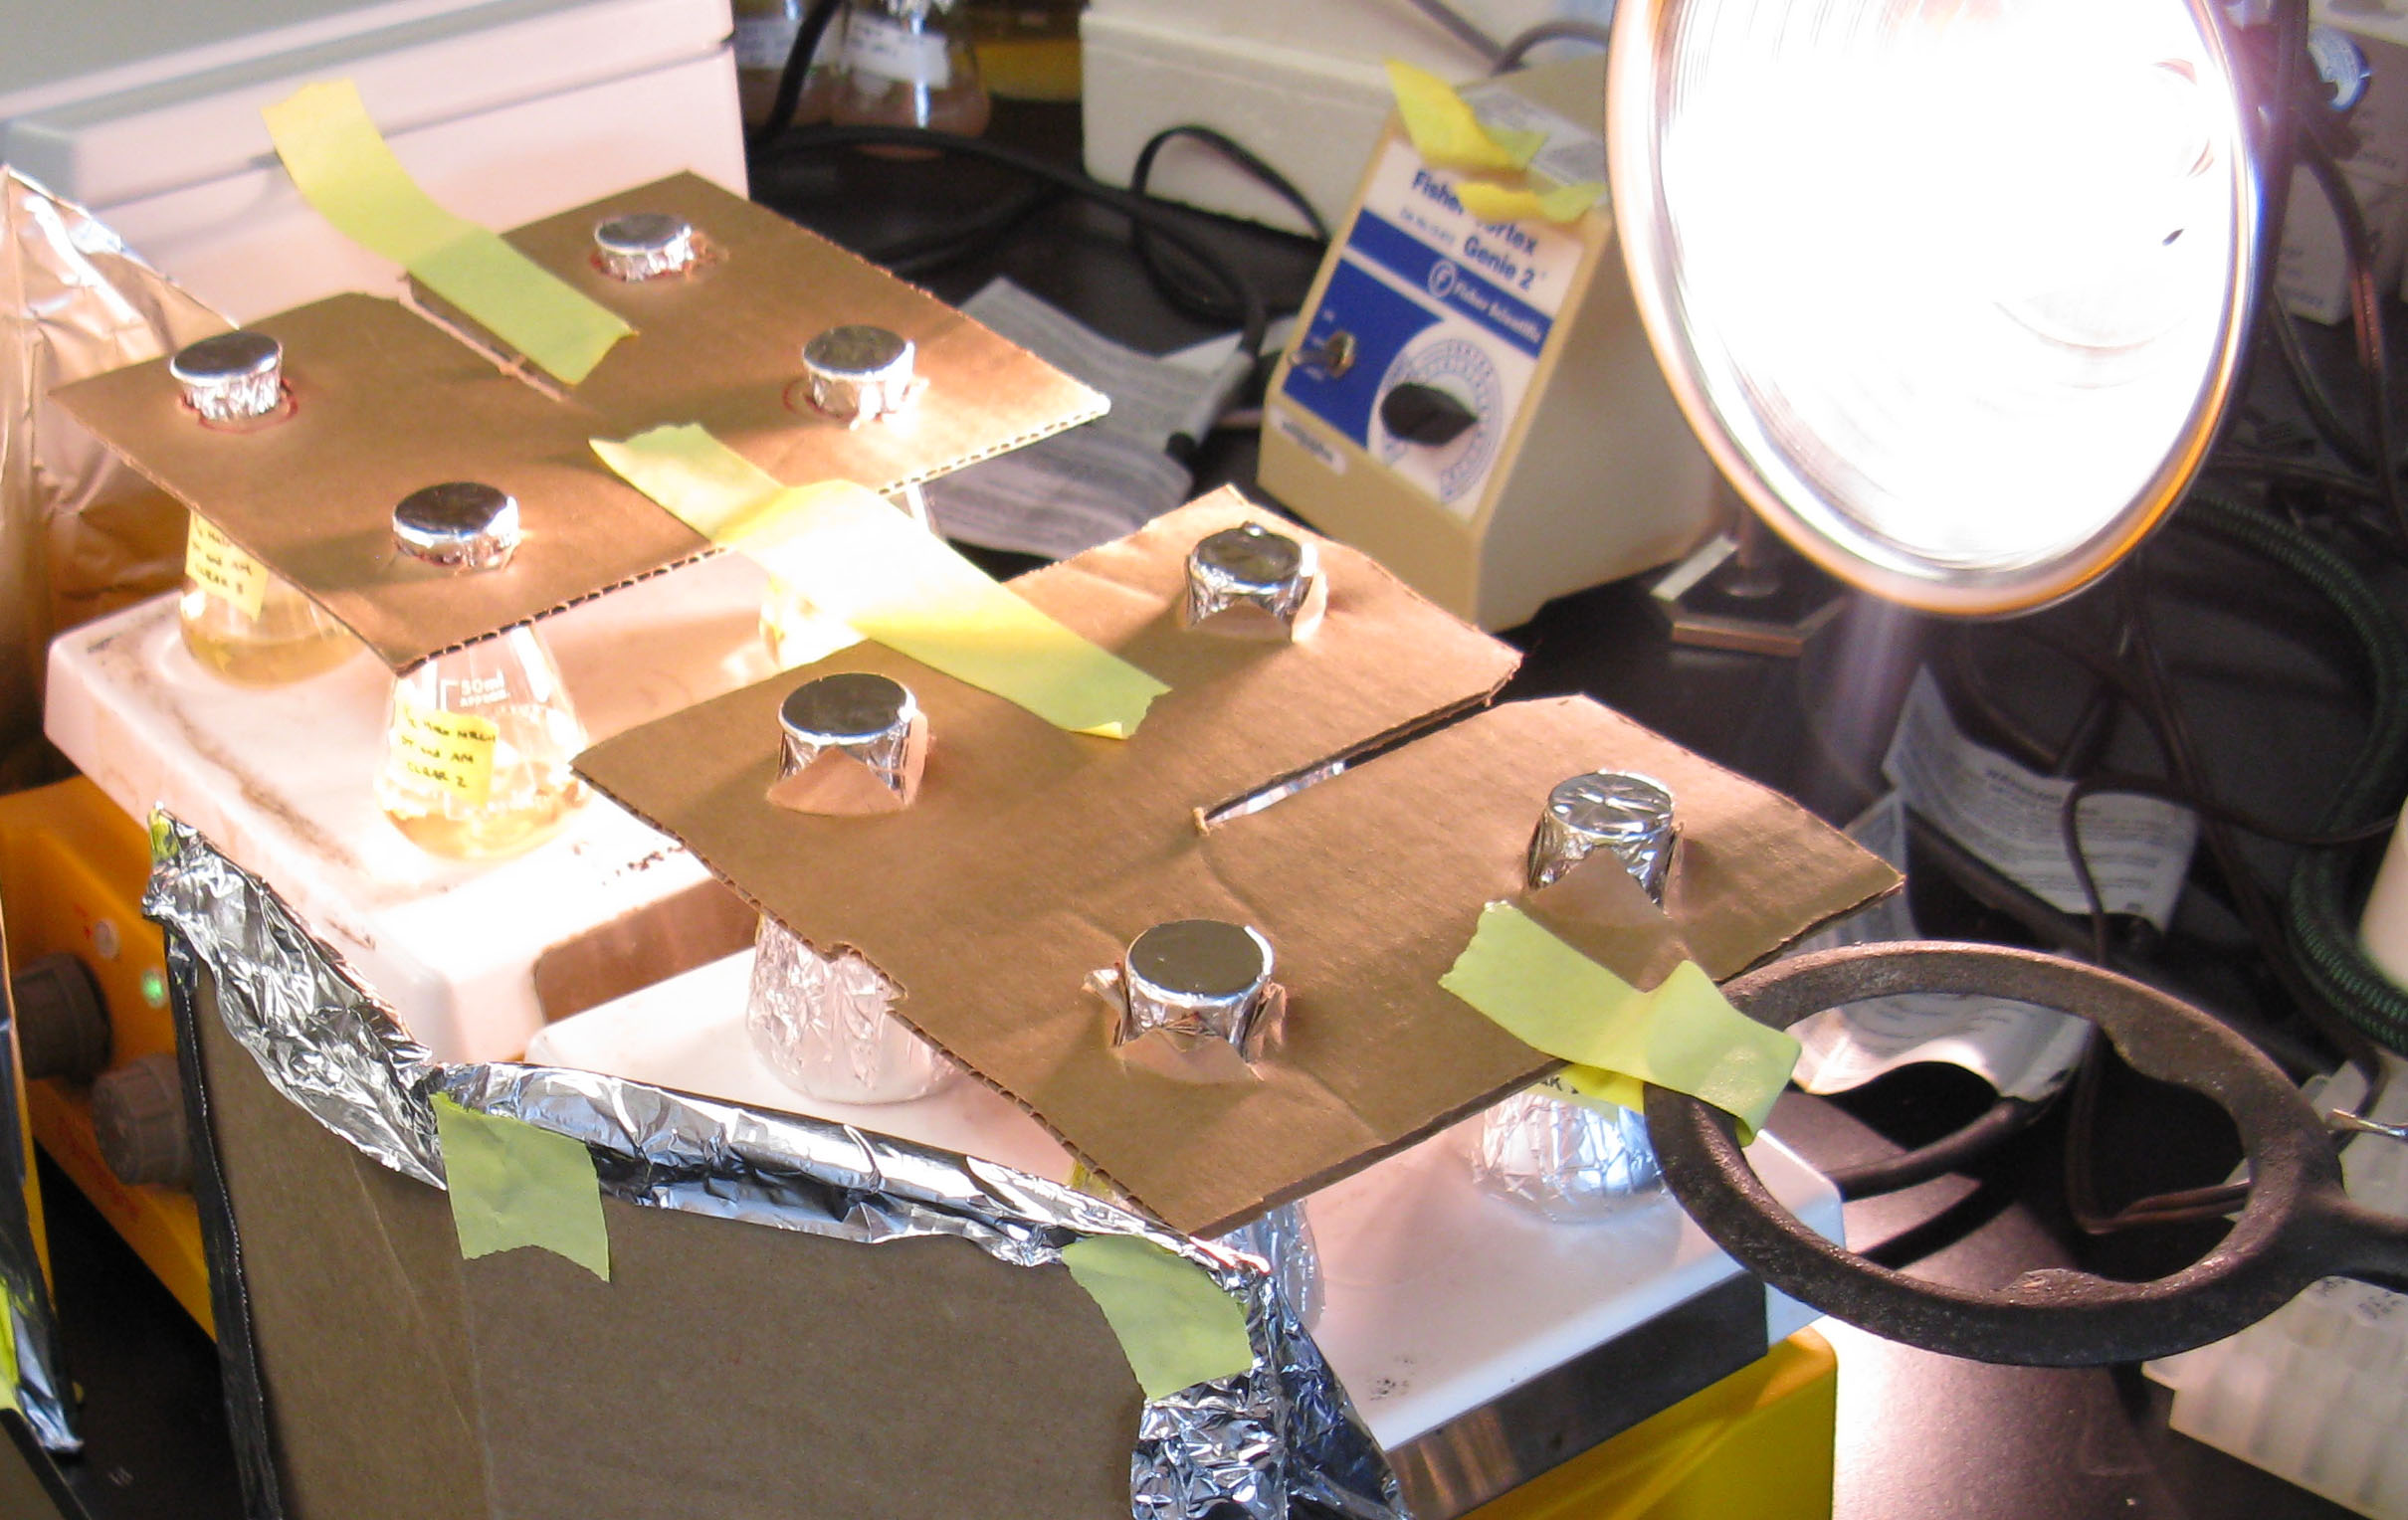
- When using flasks with stir sticks on spinning plates, the flasks must be secured or they may aggregate in the middle or fall of the side of the plate. This is most easily done with a piece of cardboard with "X's" or circles cut into four corners that the top of the flasks are stuck into. The cardboard must then be secured to something sturdy like a ring stand or centrifuge with tape. See picture below for example.
- When doing an experiment testing the effect of high light or no light, you CANNOT use foil to simulate a no light environment. Instead, black electric tape should should be used. This should give a more distinguishable difference in the cell pellets of cultures grown in the light and the dark. Also, the lights should not be turned off at night, but left on throughout the entirety of the experiment.
- When doing a Halo experiment where the primery objective is a phenotypic reponse, use a 1 mL Halo (OD about 1.2) : 5 mL CM ratio.
- When doing a Halo experiment where the primary objective is a change in growth rate, use a 100 µL Halo (OD about 0.5) : 5 mL CM ratio.
Preparing New Halo Cultures
From liquid culture to a new liquid culture:
- Add 0.5mL of Halo liquid culture to 50mL of Complete Media. (Amount added is depended on OD of original Halo, should be very pink & opaque, OD ~ 1.2 to 1.5). Cover flask with aluminum foil.
- Incubate at about 220 rpm and 37°C. Check in 2-3 days. Full culture should be ready for use in one week.
From plate to liquid:
- Add 50mL CM to 250mL flask (Use autoclaved material for 2.0-2.5M salinity. Ok to not use for greater salinity)
- Take a 20 µL micropipet tip
- Find a single pink colony and gently use tip to remove colony
- Drop tip with colony into flask with 50 mL CM
- Swirl and cover with aluminum foil
- Incubate at 220 rpm and 37°C.
To inoculate plates:
- Must use a small number of cells , Beginning OD ~1.2 to 1.5
- Dilute 1/2000 (1µL to 2µL )
- Then dilute again by 1/20,000 (Take 1/2000 dilution and dilute 20 fold, Therefore 10µL and 90µL of CM)
- Add 20µL of diluted Halo to the center of the agar plate , use 2% agar plates If using metal spreader:
- Using a sterilized metal spreader, spread cells over entire plate (Sterilize spreader by soaking in ethanol, best to soak for about 10 minutes. Use a Bunsen burner to heat spreader.
- Wait until cool. Test by putting spreader on agar not covered with Halo. If the plate sizzles, wait a little longer.
If using glass beads to spread cells:
- Use sterile beads (autoclaved or use 70% ethanol or isopropyl. Then rinse with deionized water)
- Add 20-25 (or 20-40; depends on size of plate) sterile beats to plate
- Add 20µof diluted Halo to plate, Drop right in the middle of plate
- Cover, and shake beads across numerous times
- Once the liquid has been spread evenly throughout the plate, uncover and put beats in biowaste.
- Place cover back on plate.
- Always store plates "upside-down" with agar showing on top so that condensation does not drip on your colony.
- Label plates by writing around the outside edge. This down not distract/impede viewing of colonies
- Place all plates in a Ziploc bag then incubate at 37°C. Check plates after 2-3 days. Should be ready in 1 week
- If there are no individual colonies, only long streaks, too many cells were used to begin with
- Do not use parafilm around plates, Okay for awhile, but the heat releases the parafilm so you’ll need to readjust
Making Agar plates:
- Add 12g Bacterio-agar to 600mL CM
- Add slowly while stirring at low temperature, if bubbles, lower temperature
- Solution should not have large particles in it, but will be slightly cloudy, Precipitate forms if heated too much or too quickly
- If using an autoclave, mix in a flask, then autoclave
- Keep on a 55 °C water bath to liquefy.
- Pour into petri plate (bottom) or a flacon tube for a future stab (6mL)
- Tilt tube at a significant angle (120°), Use a pen or like object to prop tubes up at this angle (This surface area is for smear )
|
Disclaimer:
Any opinions, findings, and conclusions or recommendations expressed in this material are those of the author(s) and do not necessarily reflect the views of the National Science Foundation.
Institute for Systems Biology, 1441 North 34th Street, Seattle, WA 98103-8904 |
|
|
